I have a crazy friend called Carla, through whom I met another cray cray called Fabíola. Carla got me and Fabi hooked. Ironically, she´s the only one who still hasn´t bought a FILO! I was desperate for some organization in my life, tired of getting lost in my millions of notepads. So I had a EUREKA! I though: "I need to buy a FILO!" I had no idea of the consequences. That´s the adventure I talk about here. If you know the FILOFAX world, yet... do yourself a favor: close your browser and RUN!!!
PRINTABLES AND INSERTS JUST FOR YOU!
PS: If you´re interested in inserts and printables, take a look at the PRINTABLES PAGE or the ETSY shop to the right of the blog!
Sorry CIA, not the brainiac kind. I can be creative, but computer hacking is a whole other level that´s just not for me.
The hack I´m refering to is in China (no, not the country, silly!). For those who don´t remeber, China is my very first faux filofax. She´s Chinese, therefore the name (see, told you I was creative! - not!).
But, for the most part, i´ts fun having to be Inspector Gadget.
I know I´m always on a rant about things here in Brazil, but believe me, there´s a reason. EVERYTHING IS SO HARD TO FIND!!!! The things I used today for my remodeling have been out of stock for at least 3 months.
How do I know? I´ve been going to the same paper store EVERY WEEK for the last 3 MONTHS asking for them....that´s how.
Anyway, let´s get back to the subject. Today´s post is going to be a sort of tutorial for anyone who would like to adapt materials in the same way I have.
I´m no expert, I just got lucky on a first try, and decided to share my lucky hunches with other needing souls. Because from what I´ve heard, I don´t think I´m the only one that´s not in the US or UK that has a hard time finding things.
Ok, so here we go. Today I made 4 things, and I´m about to tell you how, so listen up! Or read till the end :)
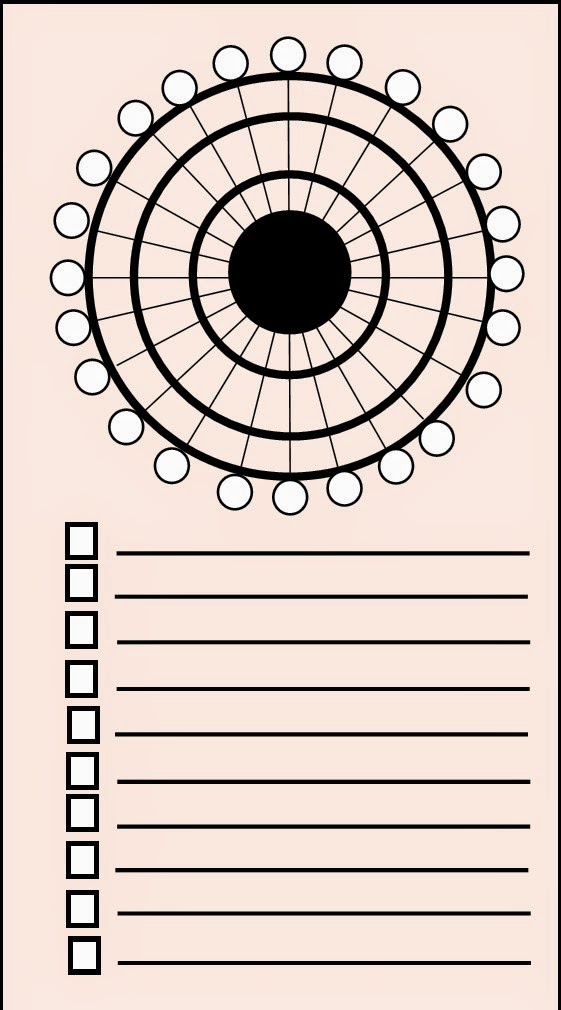
to do / to buy list
pouch for pens
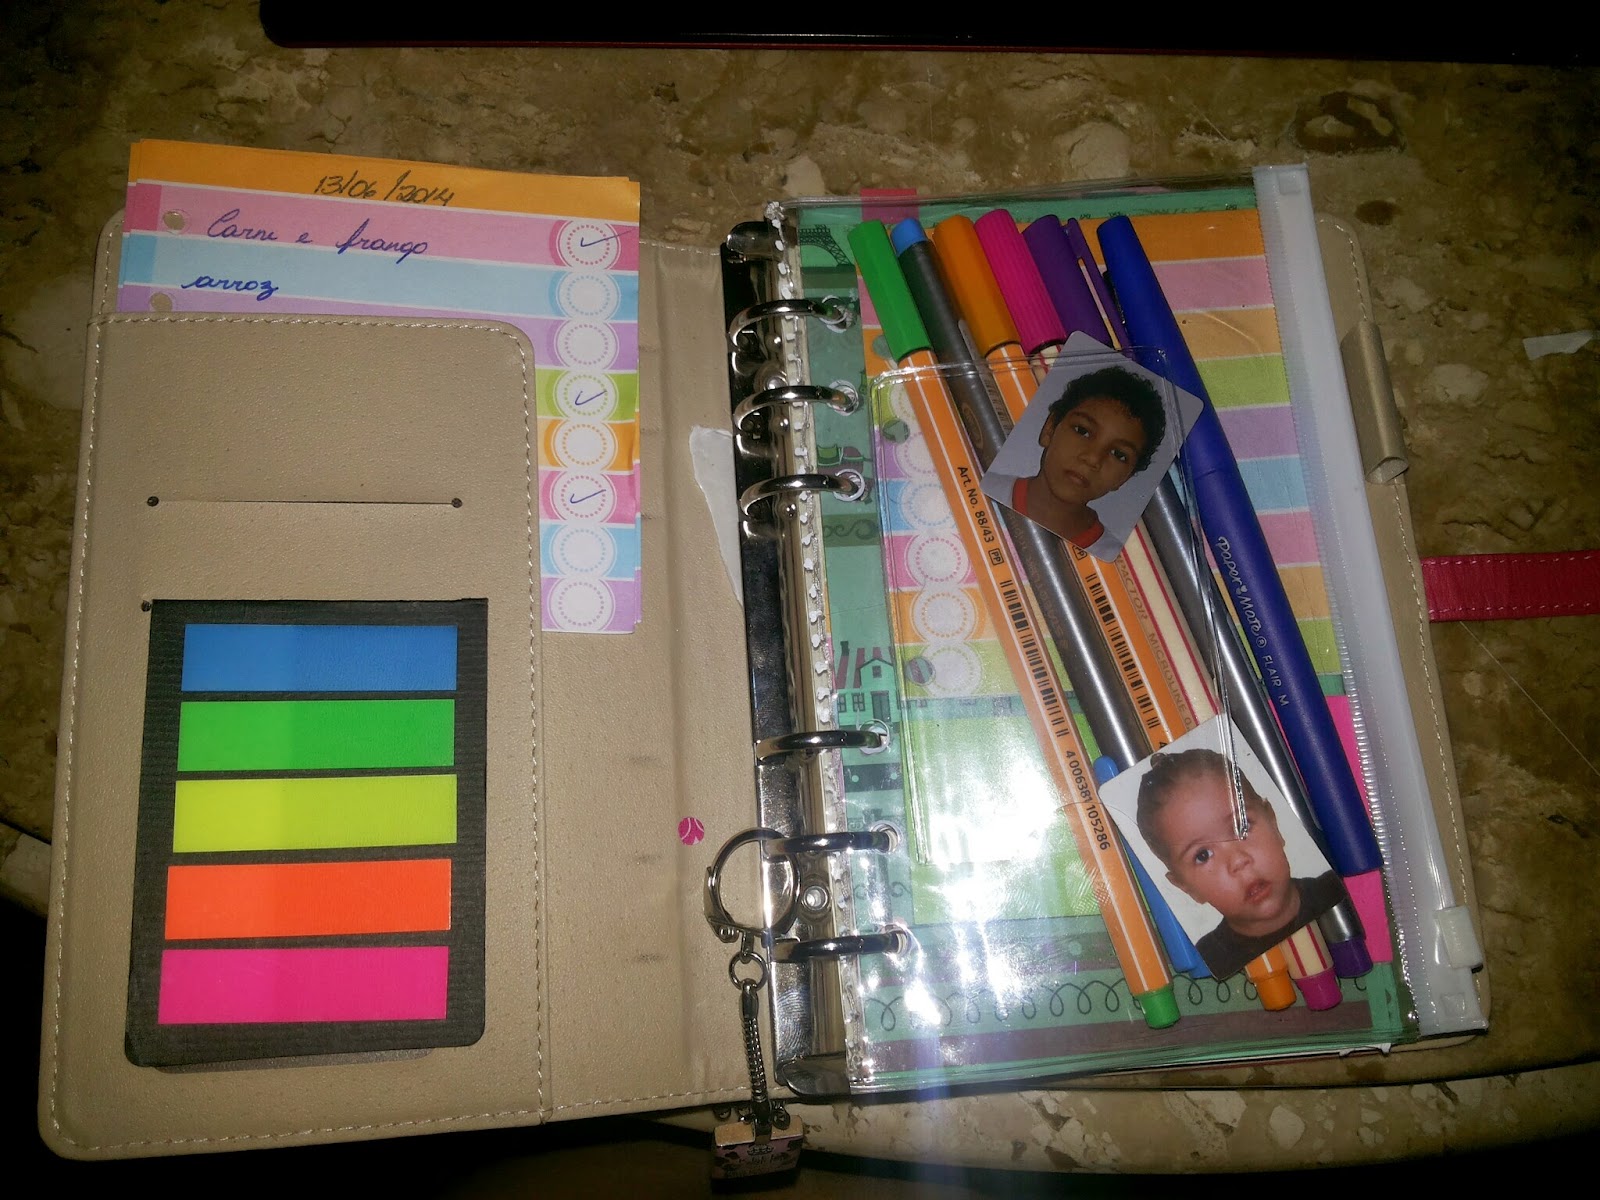
dashboard
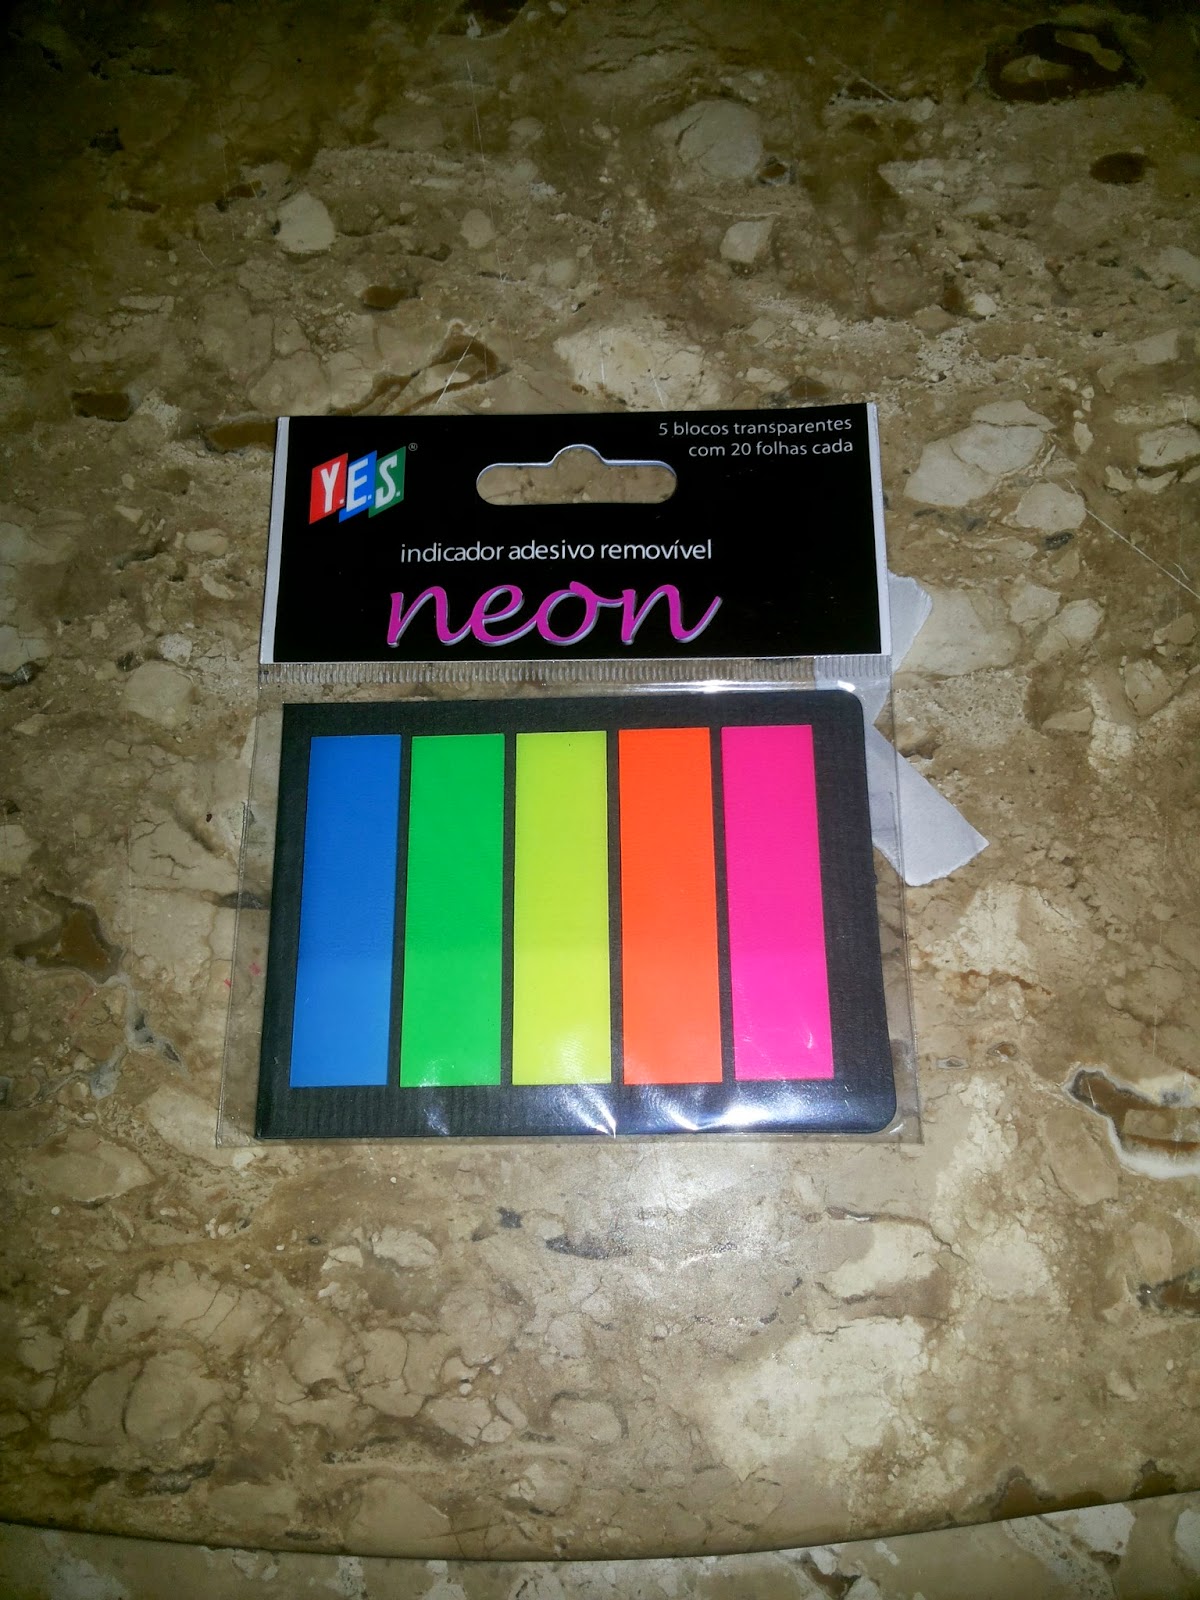
flags that fit neat and tidely into China´s credit card holder
WHAT I USED:
ruler
razor blade
liquidpaper
needle
line
scisors
double sided tape
flags
post it notes
hole puncher
1. TO DO / TO BUY LIST
MATERIALS NEEDED:
Any post its you can find - in my case I used one from Postit that has checkboxes
STEP BY STEP
Because of the size of this particular note pad, I decided to cut it in half. That way I´d have something that would fit into my agenda, and I´d have twice as many ;)
My note pad, as I said, is from Post It. Homeline, I think. It was R$33,90 at a local paper store.
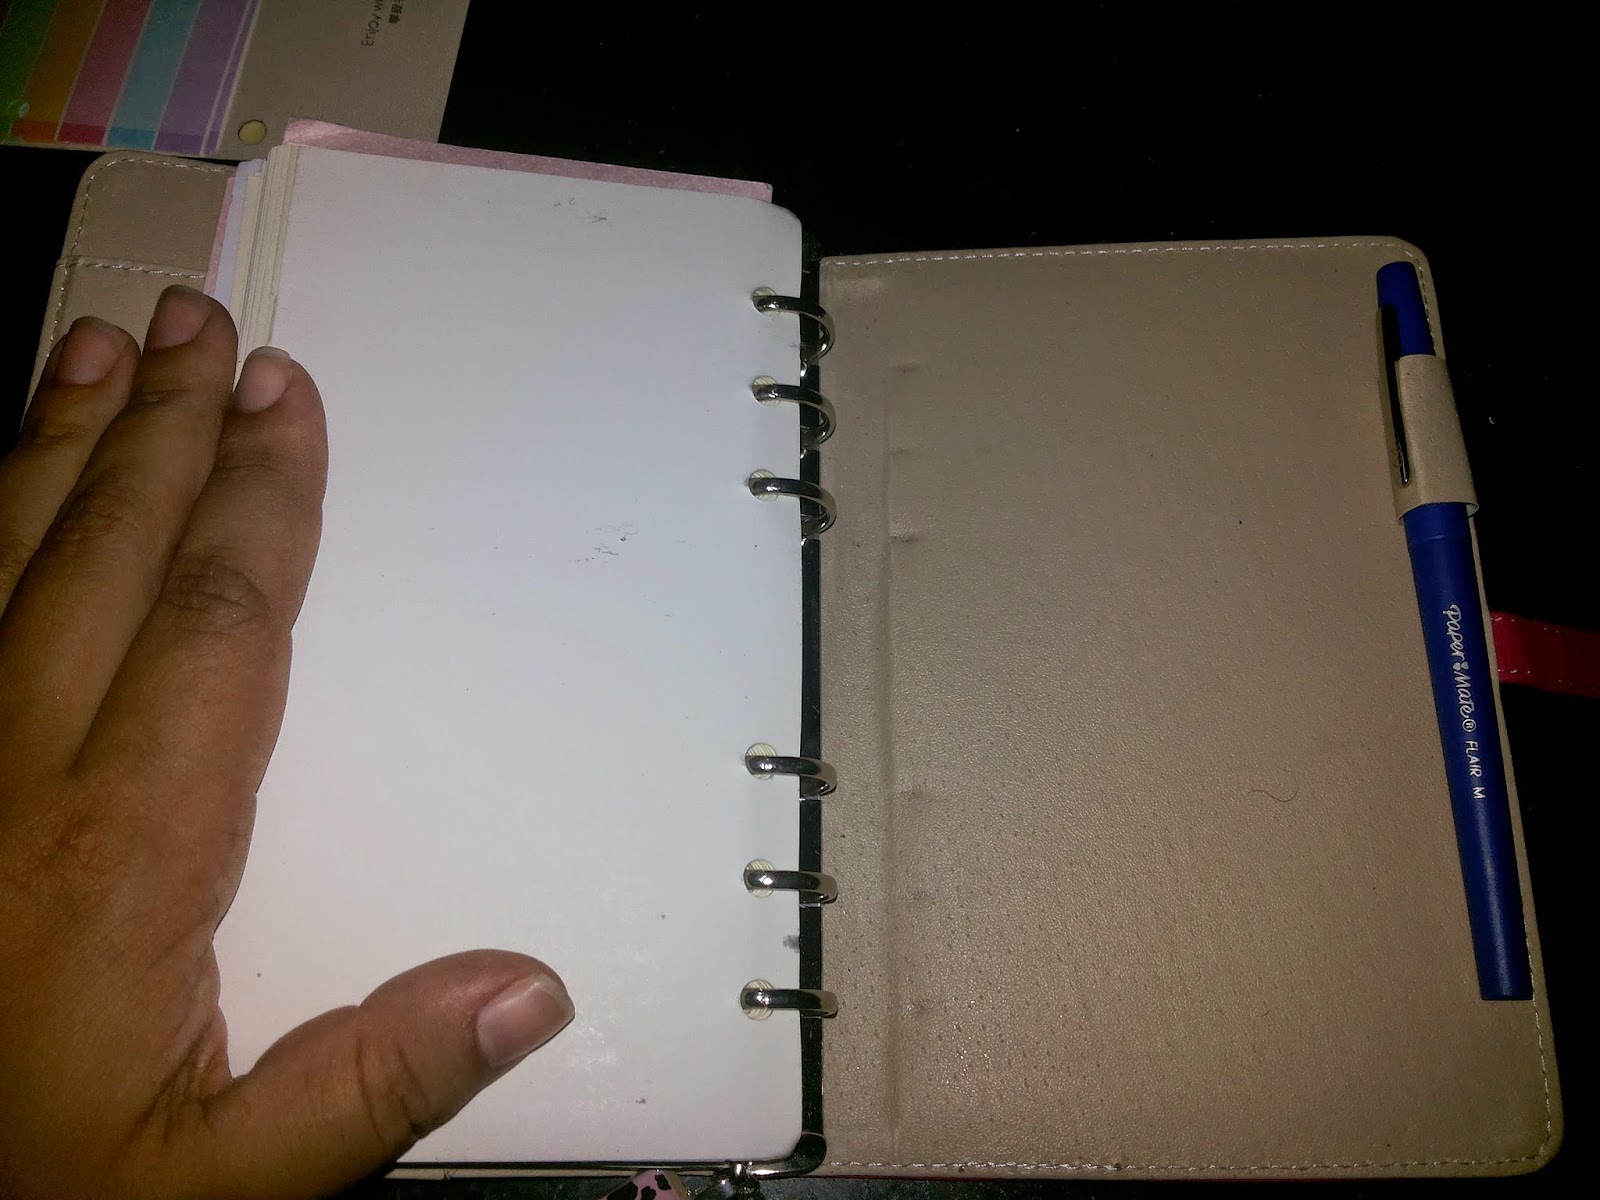
Knowing only half would have the glue on the back, I decided to leave the looseleaf parts inside the cover (pic).
You know the steps: I measure and used a ruler and a razor for a straight cut.
Next, I punched some holes in.
Originally, I only punched holes in the superior part, but they were wobly when I inserted them, so I used to the 2nd and 3rd hole from the top part and the 1st hole from the inferior rings.
That makes it stable and it even looks nicer, ´cause it´s placed in the middle.
Now I needed a place to put the other half that had a sticky part.
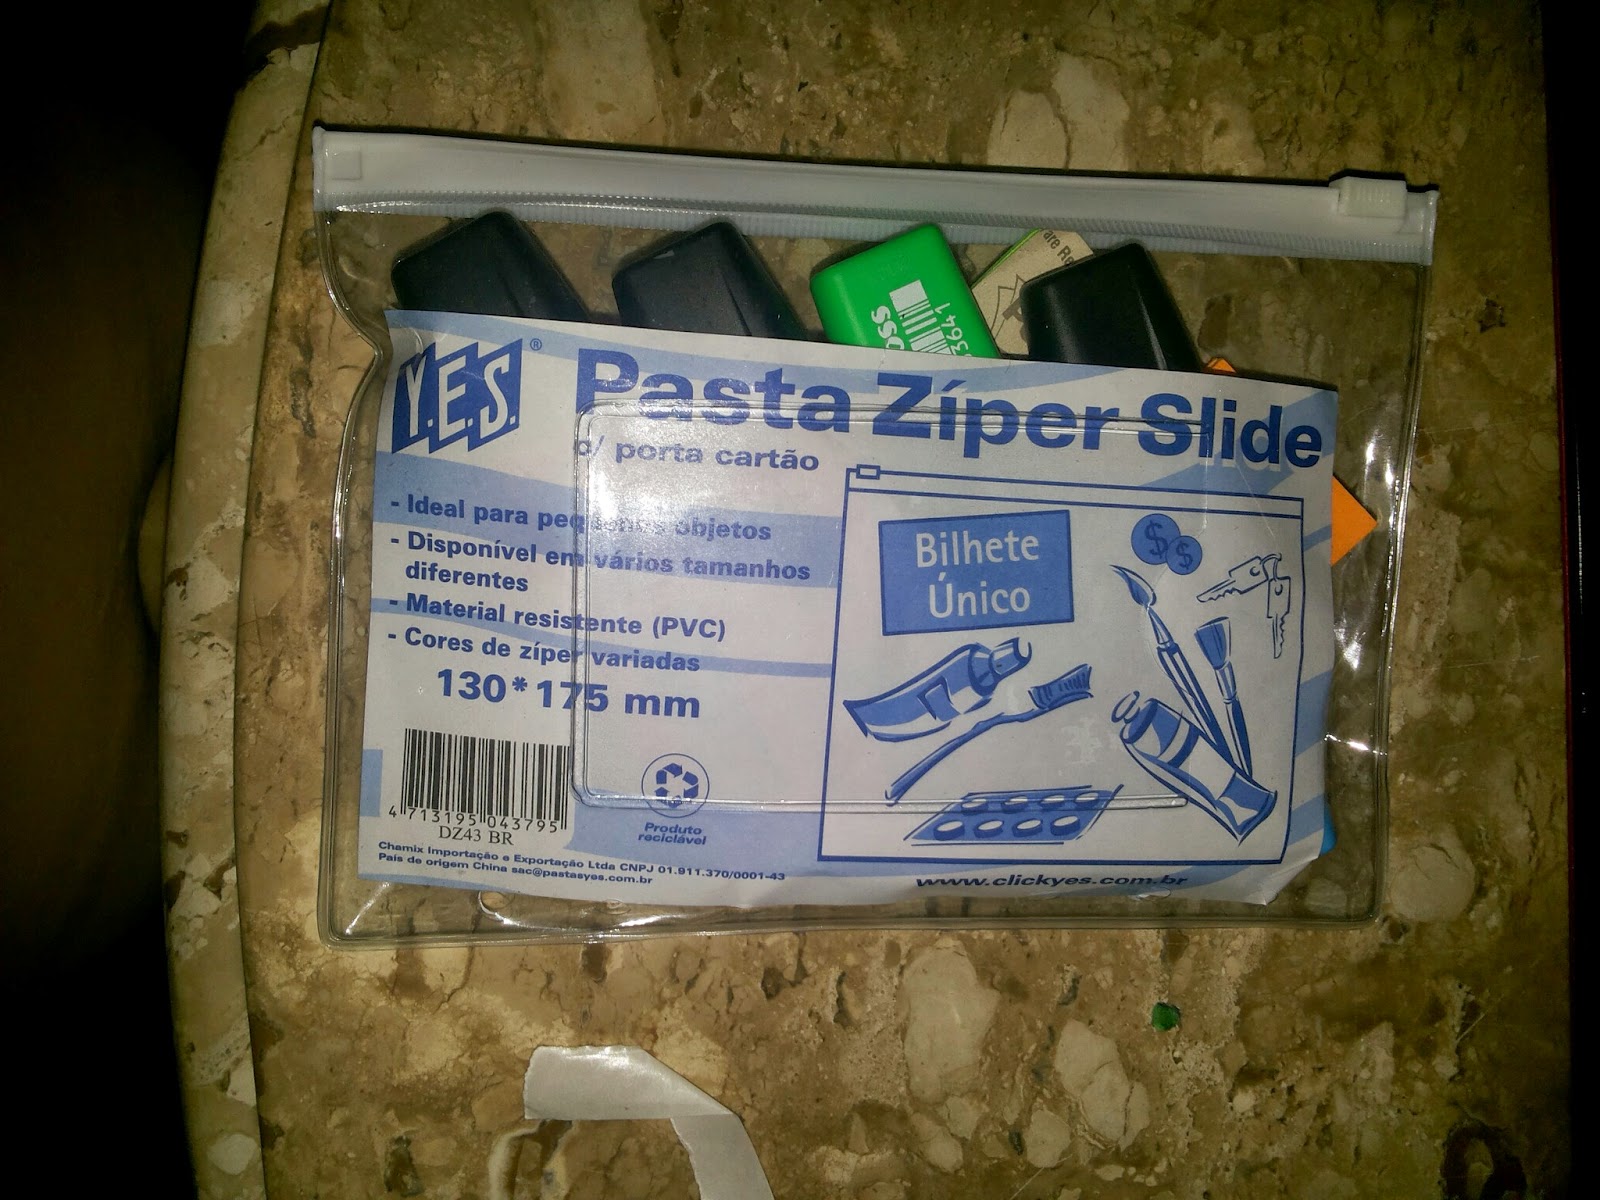
2. POUCH FOR PENS MATERIALS NEEDED Pvc baggie, small or medium size, I guess. Depends on whether you have a personal size or an A5. STEP BY STEP Measure the pouch against your pages. Mine would be too big, so instead of just punching in the holes, I had to get a little creative. My pouch would be about 1cm too big for the binder. I decided to cut it, which meant it would have open ends. Couldn´t have that, so after cutting off 1cm (horizontally measured), I decided I could sew it. Got my needle, my grey line and my ruler. I tried to mark 0,5cm marks with a pen, but it kept washing off so I did it with liquid paper. After having sewn, punch the 6 holes to heaven! :) I used those lines to give me my itinerary when sewing. I´m awfull at it, so I need guidance. This was the result:
So...this was me before having any kind of organization in my life!
Yep. Not that I´m much better off, because I´ve just started the process, but seeing a light at the end of the tunnel all ready gives me some kind of inner peace.
I don´t know what it is with us woman, but generally spealing, I think planners remind us of adolescence
When we turned 18, we all of a sudden decided we were way to "mature" for some things, and people (whether family or not) agreed with us and gave us that assurance.
One of those things would be decorating your diary. You have not had an adolescence if you haven´t filled at least one page with cutouts from magazines and drawings that represent that place, song, feeling or someone who you stupidly thought was special.
Now we´re all grown up. In fact, there is little time to be "filosofical" about life as we were back then.
What you have in your diary, or in an adult term, PLANNER is different. Meetings, things to do, things to buy, childrens errands, husbands reminders, amongst other responsabilities, will now be your basic text.
But isn´t life easier when taken on light heartedly?
Well, I decided that I will decorate my planner. Why not? The secret to staying young is keeping your joviality, right? Right! So at least when I open up my planner I´ll have something beautiful and fun to look at instead of just seing a plain piece of paper with regular pen writing all over it.
Thinking of that, I began the process.
First thing to do was to decide what practical things I wanted to include in my planner.
My failed financial life came to mind, of course, as the first. Then came my kids, who have weekly testings and I need to be able to know what they´re seeing in school in order to help. third place came work and my own appointments.
This last is probably the most important because I work at 3 different schools. Each has it´s own methos, proceedures, students, grades, classes, resources, meetings, ideas.....sheesh! Made my tired just typing it!
I HAVE CAOTIC DAYS AND SOMETIMES DON´T EVEN KNOW WHICH SCHOOL TO DRIVE TO OR WHAT DAY OF THE WEEK IT IS.
Therefore, it´s evident to my I need to be on top of things ASAP. Something I haven´t been coping with doing the last semester.
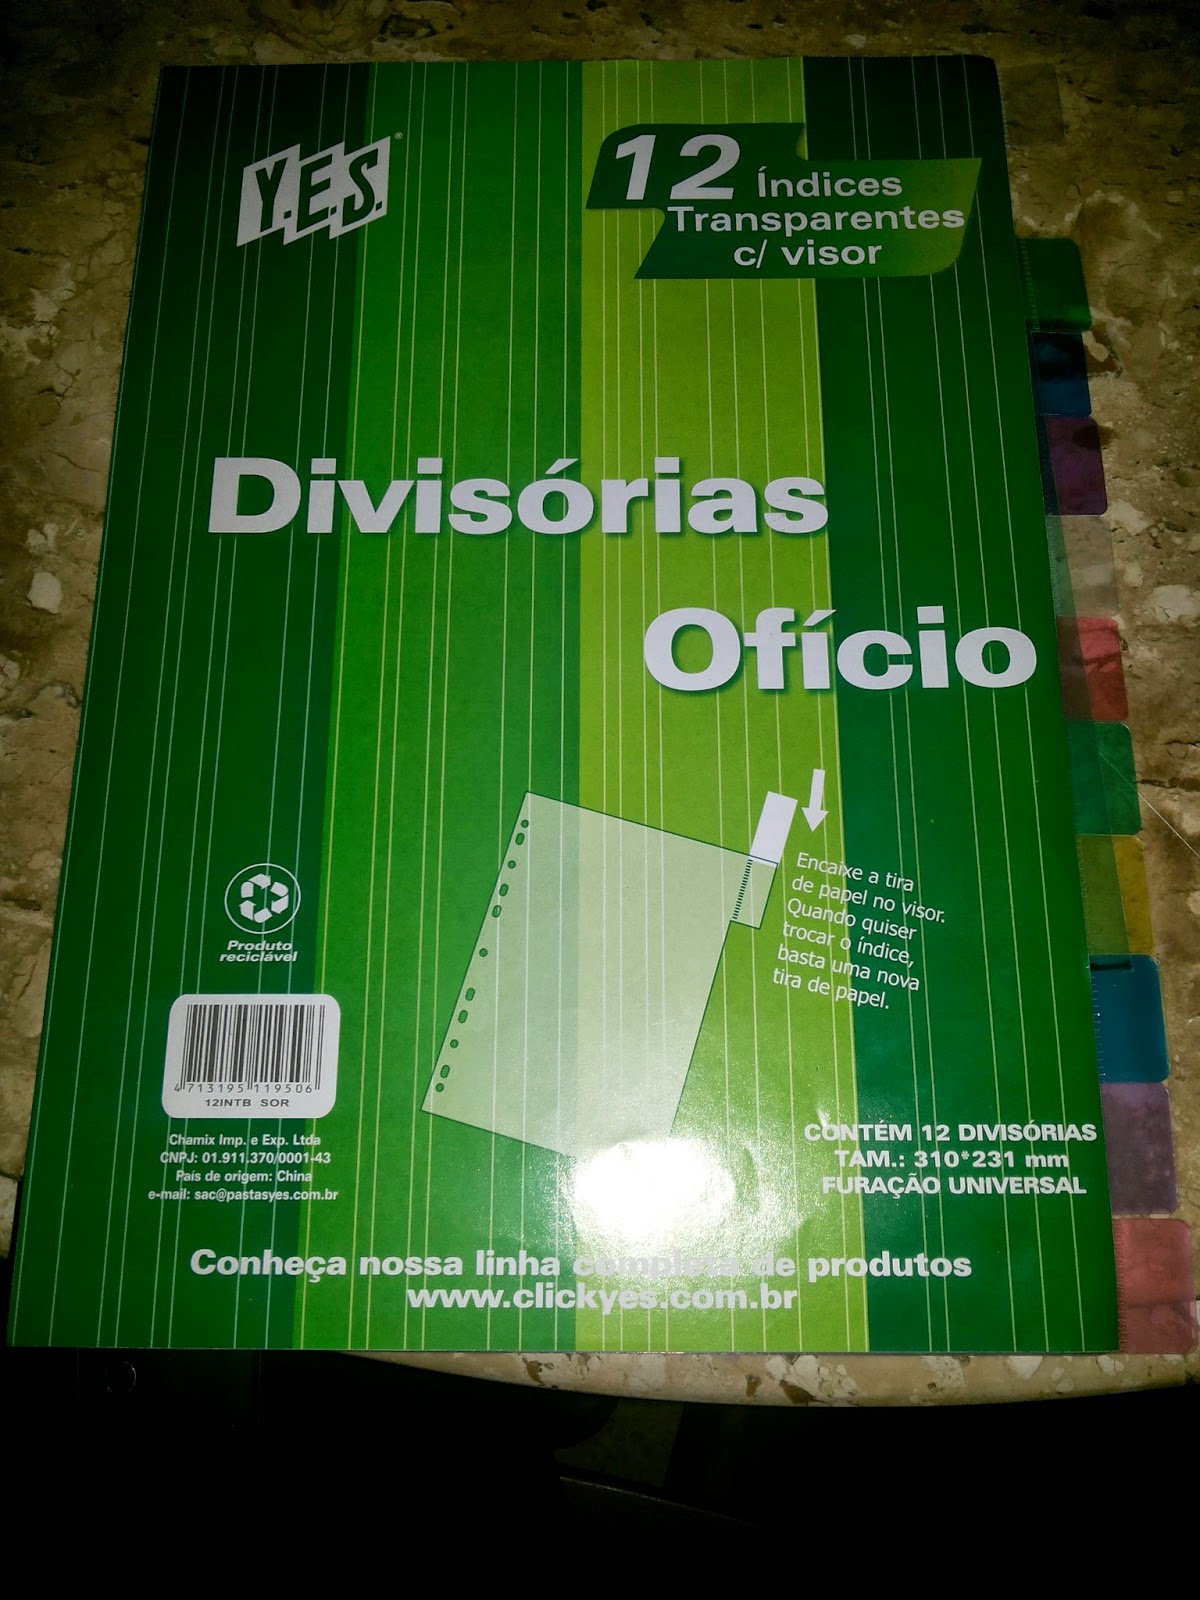
Having decided what I wanted in the planner, I began to think of tabs. I found TONS of them on etsy, but of course if you live in Brazil, you have a BIG PROBLEM CALLED CUSTOMS. Most order, even the cheapest dollar ones can take up to 4 months to reach your house.
So I went to one of my favorite local stores. But, as all stores here, there biggest mistake is not having a lot of variety.
So here I am lost on the second floor, which is miniscule and is supposed to be scrap book dedicated, and I ran into the cutest paper!!!!
All of a sudden: WHAM! The thought came to me that I could make my own! Yes sir!
The result of that were the four dividers I needed and that I think came out pretty darn good and cute! And the colors match the planner completely :)
I actually messed up the order on the 3rd and 4th. It was supposed to be:
PINK - BEIGE - PINK - BEIGE
But all is well when it ends well and I´m using them anyway.
Well...if you followed my last post, which was all about China, the planner, you know that all she came with was lined paper.
In order to actually start putting my idea to work, I would need more then that.
I am a woman on a mission, so I went over to the PC and started making my own inserts.
I used Microsoft PUBLISHER, because I just love it´s practicity. It´s a lot better then word for these sorts of things.
Ironically I can´t get myself to make my tests on publisher, though. Each to it´s own, I guess.
FOR SECTIONS, I MADE:
Monthly calendars that go from June to December of this year, all in the following format:
2. week on 2 pages or WO2P. These I do by hand using the lined paper that came with her.
3 My daily schedule:
4. Last but not least, my hyperdex. This one I made myself as well. If you don´t know this system yet, you should, and will. In a future post we´ll be having a guest blogger, Carla Gondim, that will explain all the bits and pieces to you!
FOR MY FINANCIAL SECTION, THERE IS:
A payment calendar. Actually, is was the same calendar I made for the agenda, but of course, instead of appointments, I´ll have my bills on it.
Monthly payment list with 3 payment methods to check on it: credit card, debit from ckecking account and wallet.
A daily expenditure table to controle what you spend, in this case me, and where from
After a full day and night without being able to sleep because I was agonizing over this organization thing, I still have my work and my sons section to get to.
And here´s my favorite part! Decorations!!!! I decided to do the decorations on my WO2P, so here are the 2 weeks I have so far:
And now I´m giving it a brake cause I have to buy some ink for my printer. Got that silly warning we all know too well:
For now, I´ll leave you all with the video of my progress: XOXOXOXO
No, unfortunately, it´s not a true filofax, but being caught between bankrupcy, desperation for organization and the lack of agendas with 6 rings where I live, I opted to buy through ALI EXPRESS.
The only problem with these orders, be it Ali or EBAY, is that OMG!!!!!!! They take an eternity to get here!!! I never thought it would take this long! But anyway, It´s finally here, and thank God for that, because I was almost giving up on this agenda world.
Almost a four month wait, and in my anxiety, I did something silly. I went on MERCADO LIVRE, the equivalent to a Brazilian EBAY, and found a planner on sale from plan ahead. Or so they said it was. I´d been looking for a long time, never found one, so I snatched it and had it delivered express.
To my horror, it was black, which I absolutely HATE! But basically there was no other choice in sight, so what the heck.
Then, life being ironic as it is, on the day I got that delivery, I got another delivery with it. Guess what is was??
You got it! My planner from ali express!
So now I have 2 of them, but the black one I dislike so much, I´ll probably never use.
So this is China! And yes, I named her. If you think that´s weird, you know nothing about the planner world and how attached you end up being to these little bundle of appointments!
This is my beauty!
And to think I almost didn´t order it in pink. What was I thinking?! She´s absolutely gorgeous!
No package to show here because that was pretty plain and simple. Besides, I was so excited I just tore it open not even thinking about taking a pic.
Obviously, I adore pink, despite being too old for that according to some people (you know who you are).
This is the first page, dedicated to personal information. Of course the use is optional, but I intend to use it.
This is the yearly calendar for 2014. I wasn´t going to complain, but since it´s just between you, the entire internet and me, I´m gonna ask a question: don´t you think it should have come with a 2015 calendar as well?
Inside; lined paper. These are in a Day on 1 Page format I guess?
I find them pretty practical. You can use them as a diary, weekly event planner, shopping list, you name it!
This is the inside cover on the right side. You can put in 2 credit cards and the rectangle there is see through, so I think family pics are most definitely in order. There´s also this side pouch, or whatever you call it. I used it for bills to be paid already, but now I´m thing about putting some post its in there.
The other inside cover, on the left side, is pretty plain. There aren´t any pockets as filofaxes have or redfax, but the price was marvelous!
And it does come with a pen holder.
Behold my planner with FREE SHIPPING and a price tag UNDER 20 DOLLARS!
the strap is HUGE! Which means you can really stuff this little thing, and the closing is with a metal lock of some sorts, so it´s pretty secure.
As soon as I got it, I thought the pages weren´t personal size. Yeah, I know I have a post all about page size, but silly me got confused and I was desperate when I mistakenly thought that.
Thank God I realized they were personal sized pages!
From then on, the transformation began.
As said before, the magic of these planners is allowing you to set up your own system. Inserts, tabs, dividers, pouches, the way you like it.
It´s your messing with it that´s gonna make it perfect!
Next post will be all about making my baby mine.
Hope to see you then!
Ps: the ali express link will take you straight to the seller of the agenda for those who are interested. They have a beautiful sky blue one too!
 The hack I´m refering to is in China (no, not the country, silly!). For those who don´t remeber, China is my very first faux filofax. She´s Chinese, therefore the name (see, told you I was creative! - not!).


 MATERIAL NEEDED


 Well, I decided that I will decorate my planner. Why not? The secret to staying young is keeping your joviality, right? Right! So at least when I open up my planner I´ll have something beautiful and fun to look at instead of just seing a plain piece of paper with regular pen writing all over it.


